

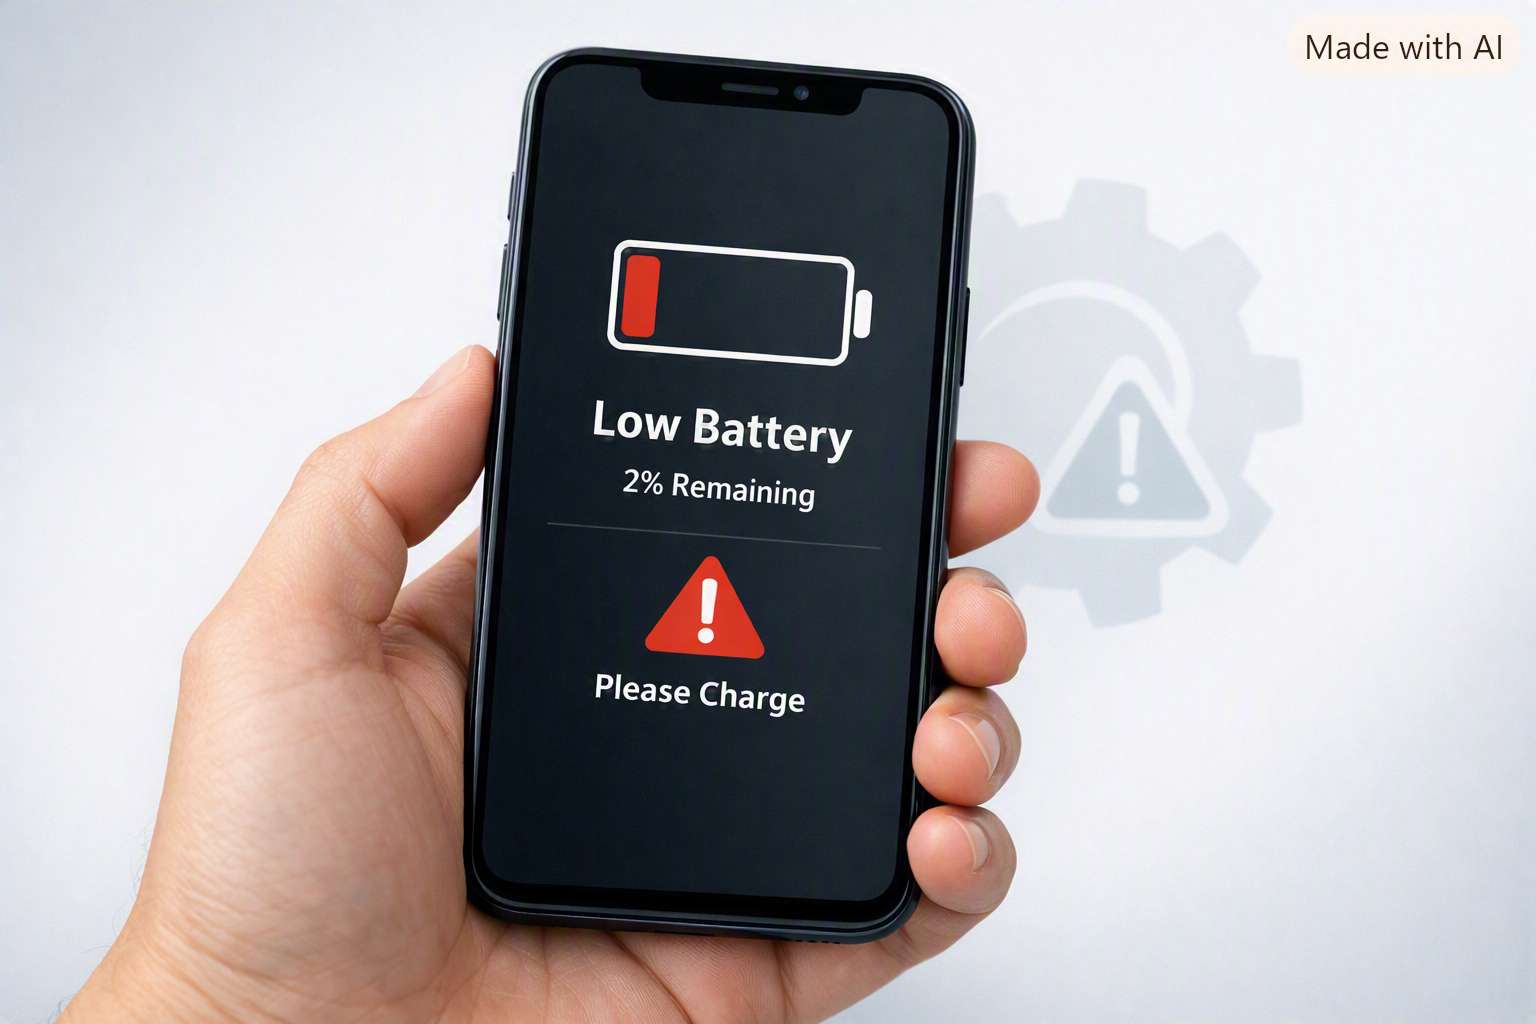
Few things are more frustrating than updating your phone expecting better performance, only to watch your battery percentage melt away by lunchtime. You pick up your device, it feels warm around the camera module, and apps you barely opened are suddenly responsible for half your power usage.
Before you assume your battery is degrading or start thinking about a factory reset, take a breath. In 95% of cases, post-update battery drain isn’t hardware trouble—it’s just software friction.
Catch the Rogue Apps (The Real Culprits)
Major system updates change underlying code libraries. When third-party apps haven’t pushed an update to match the new system, they can get stuck in a "wake-lock" loop—constantly trying to run in the background without letting your phone's processor sleep.
To find out which app is misbehaving:
- Check the breakdown for the last 24 hours.
- Look closely at Background Usage versus Screen Time.
- If a social, shopping, or wallpaper app shows 2 hours of background activity while you only used it for 5 minutes, you found your culprit.
- Head to the Google Play Store and see if that app has a pending update. If it doesn't, uninstall it temporarily or restrict its background privileges.

Turn Off Background Wi-Fi & Bluetooth Scanning
This is one of Android’s sneakiest battery drains, and updates almost always re-enable it by default. Your phone doesn't just scan when Wi-Fi or Bluetooth are turned on—it continuously sweeps for nearby routers and beacons 24/7 to pinpoint your location.
- Find Wi-Fi scanning and toggle it OFF.
- Find Bluetooth scanning and toggle it OFF.

Clear the Google Play Services Cache
Google Play Services connects your apps to Google cloud sync, notifications, and accounts. When the OS updates, old sync tokens can jam, causing Play Services to silently retry connections every few seconds.
- Tap Clear Cache.
- Crucial: Do not tap "Clear Storage" or "Clear All Data"—you only want to clear the temporary cache.
- Restart your phone once done.
Put Non-Essential Apps into Deep Sleep
You don't need real-time push alerts from ride-sharing apps, food delivery services, or e-commerce stores while working or sleeping. Giving them unrestricted access kills battery life.
- Switch the battery setting from Optimized to Restricted (or add them to Deep Sleeping Apps on Samsung phones).
- Keep your essential communication tools (WhatsApp, Gmail, Phone) set to Optimized so you don't miss important messages.
Wipe the System Cache Partition (Clean Slate Fix)
If your phone is still running unusually hot, this is the most effective maintenance step. Wiping the cache partition removes leftover installer scripts and temporary system data from the old OS version without touching your personal photos, apps, or settings.
- Power off your phone completely.
- Connect it to a PC or charger with a USB cable (modern Android versions require a cable connection to access the recovery menu).
- Press and hold the Volume Up + Power button together until the brand logo appears, then let go.
- In the recovery menu, use the Volume Down button to highlight Wipe cache partition.
- Press the Power button to select it, then confirm by choosing Yes.
- Select Reboot system now once it finishes.

Frequently Asked Questions
Will wiping the cache partition delete my photos or chats?
Not at all. The cache partition only holds temporary system logs and old update remnants. Your personal files, photos, downloads, and app logins remain completely intact.
Why does my phone get warm while charging after an update?
Android does heavy maintenance—like compiling app code for faster launch speeds—when the phone is plugged into a charger. This creates temporary heat. It usually stops after one or two overnight charge cycles.
When should I actually consider a factory reset?
Only consider a factory reset if your phone continues to drain rapidly after trying all 5 steps and waiting a full week. Always back up your data to Google Drive or an external drive before taking that step.
